Follow Me On Social Media!

Homemade Caramels: Easy Indulgence That Melts Hearts
Introduction to Homemade Caramels
Imagine walking into a kitchen filled with the sweet aroma of melting sugar, butter, and cream. That’s the magic of homemade caramels, a confection that transforms simple ingredients into a delightful treat that can brighten your day. The process may seem daunting at first, but making caramels at home allows you to control the flavors and textures, ensuring a result that’s both creamy and rich, with a mesmerizing buttery finish.
When you take a bite of these homemade caramels, it’s not just about taste; it’s about nostalgia and the joy of sharing something special with loved ones. The warm, gooey texture and rich flavor bring back memories of holiday gatherings and sweet moments that linger long after the last piece is gone. If you’ve ever found yourself pondering the question, “What could make a great gift or a simple dessert elevate my evening?” you’ll find your answer in these luscious caramels.
Why Homemade Caramels Are a Delightful Treat?
The beauty of making your own homemade caramels lies in the ability to craft something unique. Here are a few reasons why this treat stands out:
- Quality Control: You can use premium ingredients, allowing the flavors to shine. Think about rich butter, organic sugar, and fresh cream — the difference is remarkable.
- Personalization: Want to infuse your caramels with sea salt, espresso, or even a hint of vanilla? The sky’s the limit! Customize to suit your palate or to create unique gifts.
- Creativity: Making caramels is a surprisingly forgiving process, offering a chance to play with techniques without much risk. You can learn to master the art of candy making while having fun along the way—what could be more rewarding?
These homemade caramels promise to be more than just a candy. They hold stories of gatherings, celebrations, and shared moments, waiting for you to create more memories with every batch. So gather your ingredients, and let’s dive into the world of caramel-making magic!
Key Ingredients for Homemade Caramels
Creating your own homemade caramels opens up a world of taste and texture that store-bought versions just can’t match. The secret lies in selecting the right ingredients, each contributing to that irresistible, sweet confection we all love.
Granulated Sugar: This is the cornerstone for sweetness and forms the perfect base for our caramels. It caramelizes beautifully, transforming from white crystals into a rich, golden syrup.
Brown Sugar: Incorporating brown sugar adds depth and a hint of molasses flavor, enhancing your caramels’ overall richness. It’s a game changer that makes a difference you can truly taste.
Light Corn Syrup: This ingredient is key for preventing crystallization, ensuring that your caramels remain smooth and creamy—no graininess here!
Unsalted Butter: Butter is essential for imparting richness and that delightful buttery flavor that caramel lovers crave. It’s all about creating that ideal melt-in-your-mouth experience.
Heavy Cream: Adding heavy cream provides a luscious texture and added richness, elevating your homemade caramels to gourmet status. It’s the secret weapon that takes them over the top.
Salt: A pinch of salt is crucial for balancing sweetness. It brings out the flavors in your caramels, making each bite an exceptional experience.
Vanilla Extract: Finally, a splash of vanilla extract adds warmth and complexity to the caramel’s flavor profile, rounding out this beloved treat with aromatic finesse.
By blending these ingredients thoughtfully, you’re not just making candy—you’re crafting a delightful experience!
Why You’ll Love This Homemade Caramel Recipe
The taste that evokes nostalgia and warmth
Imagine biting into a piece of homemade caramel, the rich, buttery flavor melting in your mouth as it instantly transports you back to cozy family gatherings and kitchen adventures. This is precisely why you’ll fall in love with this homemade caramel recipe. It’s not just about indulging your sweet tooth; it’s about creating memories that linger long after the last piece is gone. The comforting aroma of caramelizing sugar fills your kitchen, wrapping you in a warm hug of familiarity and joy.
Perfect for gifting, parties, or snacking
Picture this: you’re invited to a gathering, and instead of showing up with store-bought sweets, you whip up a batch of homemade caramels to share. Friends and family will be impressed, and the best part? They make great gifts wrapped in pretty packaging! Whether for the holidays, birthdays, or just as a thoughtful surprise, these delightful treats are sure to bring smiles. And let’s be honest, they’re perfect for everyday snacking, too. Can you ever have too many caramels on hand?
Easy-to-follow instructions, great for beginners
The simplicity of this homemade caramel recipe makes it accessible, even if you’re a kitchen novice. With easy-to-follow instructions that guide you from start to finish, you’ll find that making these delicious treats is more straightforward than you might think. The satisfaction of creating something so delectable at home is honestly unparalleled. You’ll be proud to share your homemade caramels—after all, anyone can do it!

Variations of Homemade Caramels
Creating homemade caramels is an art, and once you master the basics, the real fun begins—experimenting with flavors and textures. Whether you’re preparing a gift or treating yourself, these variations will elevate your caramel game!
Flavored Caramels
Unleash your creativity by infusing your homemade caramels with unique extracts. For a hint of warmth, add a few drops of almond extract to your mixture. If you prefer a more robust flavor, consider a splash of coffee extract. This twist not only enhances the taste but also adds a delightful aroma, making them perfect for sharing—or keeping all to yourself!
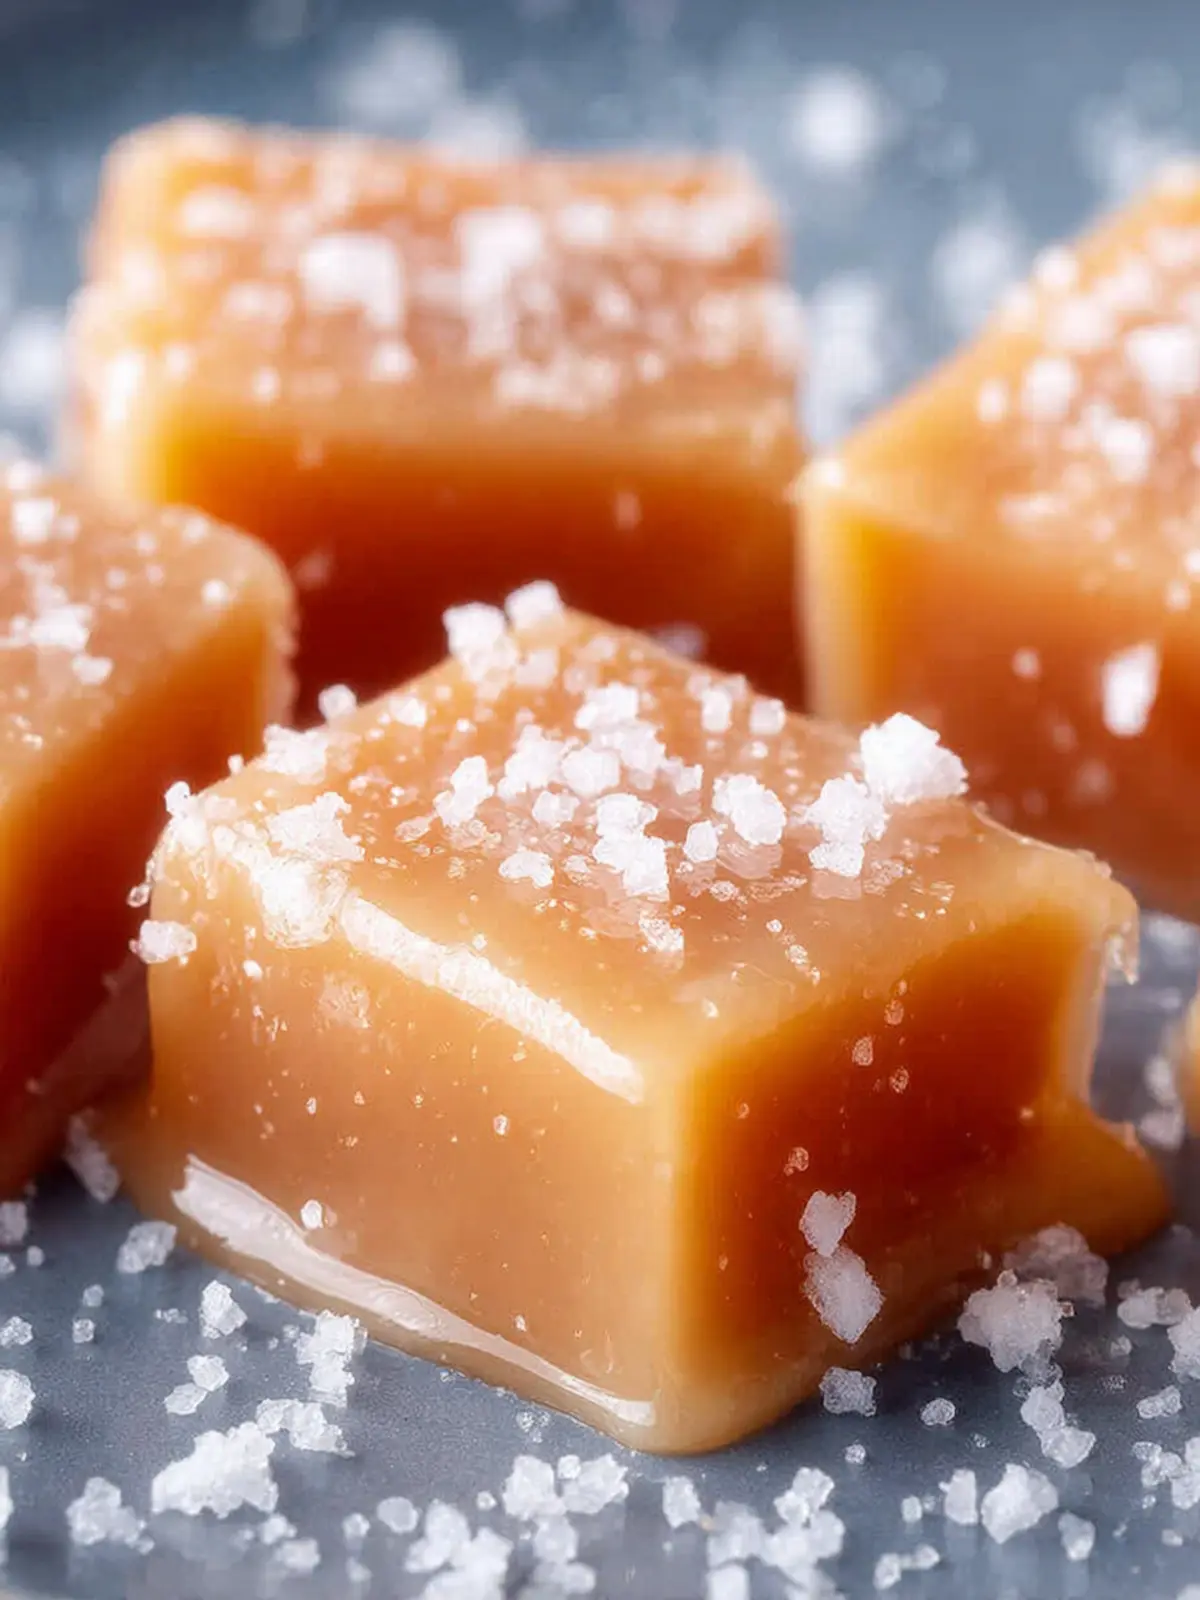
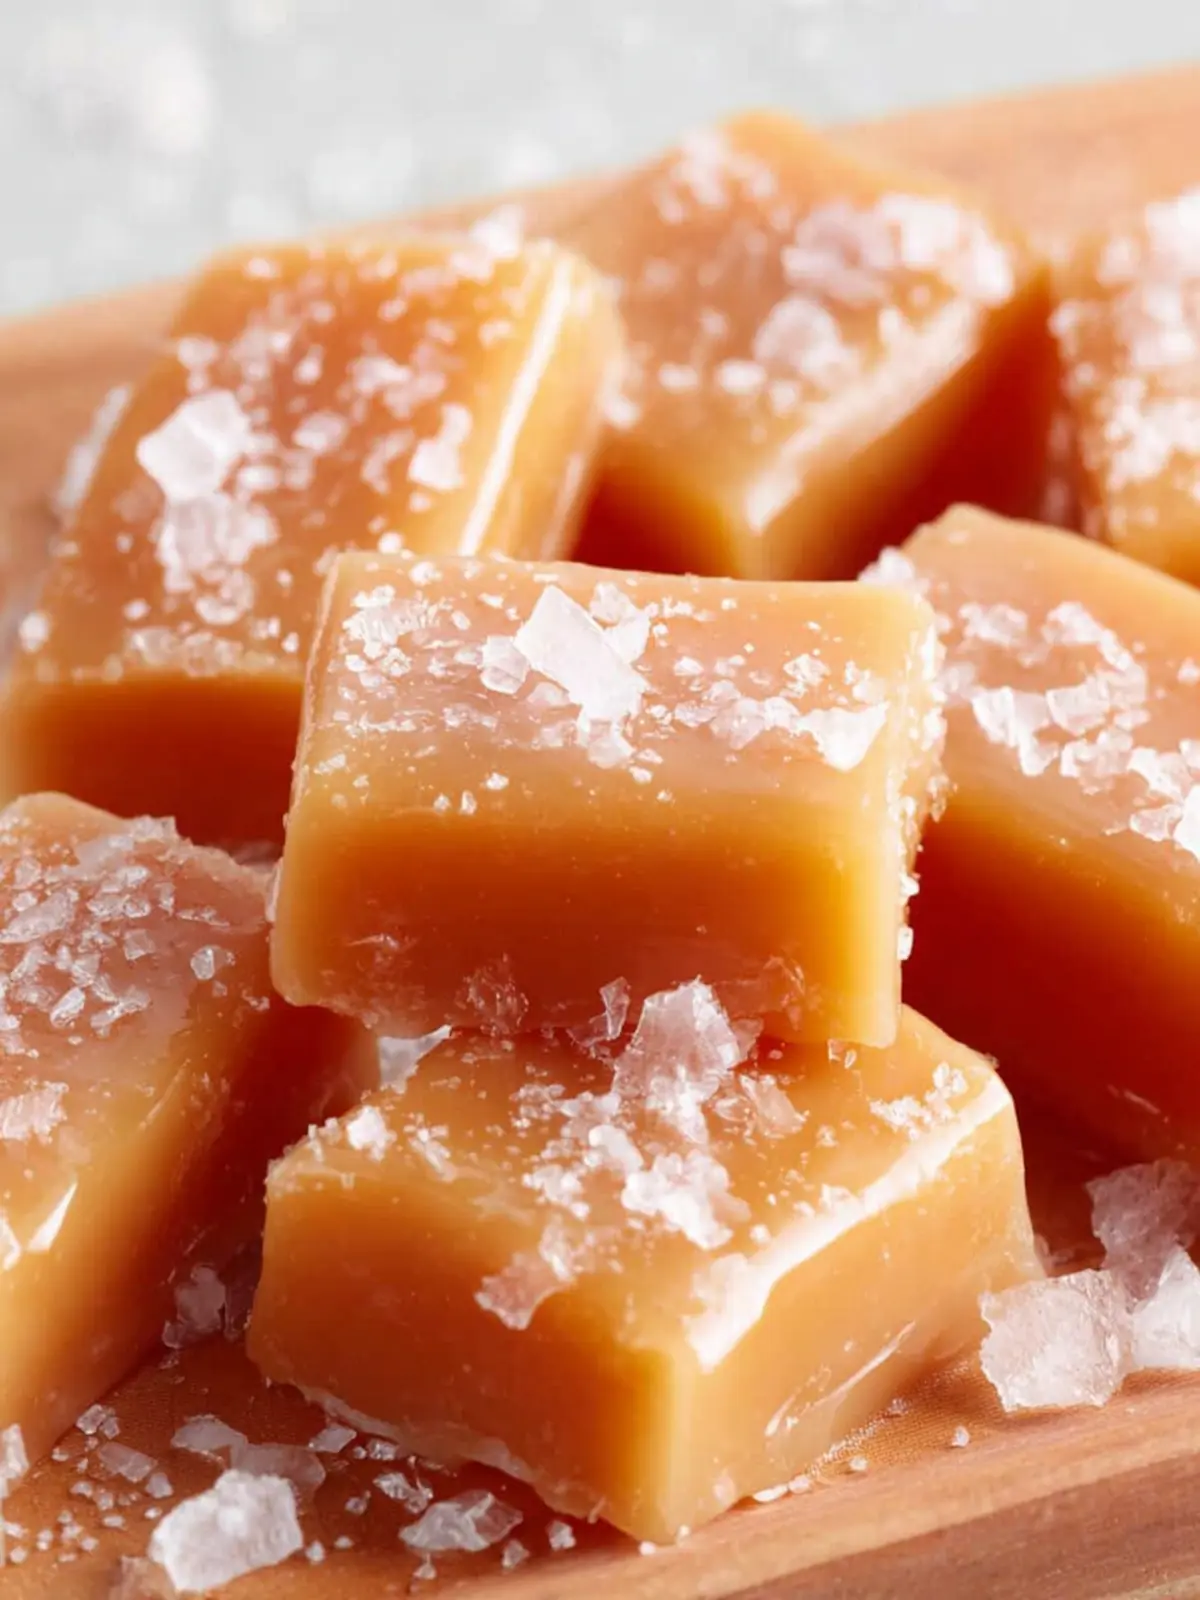
Gourmet Sea Salt Caramels
You can’t go wrong with the timeless combination of sweet and salty. Elevate your homemade caramels by finishing them with a sprinkle of flaked sea salt. This gourmet touch contrasts beautifully with the rich sweetness of the caramel, creating a taste sensation that is hard to resist. Just be careful to sprinkle lightly; a little goes a long way!
Nutty Caramels
For a satisfying crunch, incorporate your favorite chopped nuts into the caramel mixture. Walnuts, pecans, or even almonds add not only texture but also a delightful nuttiness that complements the smooth caramel. Imagine biting into a piece of caramel and experiencing both the velvety smoothness and the satisfying crunch at the same time—pure bliss!
Experiment with these ideas and feel free to make them your own. Enjoy your caramel-making adventure!
Cooking Tips and Notes for Perfect Caramels
Making homemade caramels is a delightful journey into the world of candy-making, but a few essential tips can elevate your results from good to truly exceptional.
Importance of Using a Candy Thermometer
When craftily preparing homemade caramels, precision is your best friend. A candy thermometer is indispensable. It ensures that your caramel reaches the exact temperatures for the perfect texture—no eye-balling allowed! Without this tool, you risk undercooking or burning your mixture, leading to disappointment in your final product.
Temperature Tips: Understanding the “Soft Ball” Stage
One of the crucial milestones in caramel-making is hitting the “soft ball” stage, which occurs at around 240°F (115°C). At this temperature, your caramel will have a lovely, chewy consistency. Dropping a small amount of the mixture into cold water should allow you to form a soft, pliable ball. If you miss this stage, you might end up with either a liquid or overly hard candy.
Preventing Crystallization for Smooth Results
Crystallization can be a nightmare when trying to achieve silky homemade caramels. To keep your caramel smooth, consider these techniques:
- Use a clean pot: Residue can trigger crystallization.
- Don’t stir once boiling: Let the mixture bubble away without interference.
- Brush down the sides: Use a wet pastry brush to wipe sugar crystals off the sides of the pot as it heats.
Follow these tips, and your homemade caramels will be a sweet sensation!
Serving Suggestions for Homemade Caramels
There’s something undeniably special about homemade caramels. They bring a touch of nostalgia and warmth to any gathering or occasion. Here are some creative ways to elevate your caramels.
Pairing with Desserts
Imagine the rich flavor of homemade caramels drizzled over a scoop of vanilla ice cream—pure bliss! You can also incorporate them into your favorite brownie batter for an indulgent twist. The melted caramel seeps into the brownie, adding gooeyness and a delicious flavor contrast.
Unique Gift Ideas
Want to share your love for homemade caramels? Wrap them individually in wax paper, creating a delightful gift that’s perfect for friends and family. Tie them up with a little twine or place them in a decorative jar for an extra personal touch. Everyone loves a sweet surprise!
Enjoying Your Caramels
Whether you’re in need of a quick afternoon pick-me-up or looking to impress guests, homemade caramels are perfect for snacking or sharing. Keep a batch on hand for movie nights, potlucks, or a cozy get-together with friends. They’re sure to delight everyone!
Time Breakdown for Homemade Caramels
Creating homemade caramels is a delightful journey that you can savor from start to finish. Here’s a clear timeline to help you navigate your way through the process seamlessly.
Preparation time: about 15 minutes
This is where you’ll gather your ingredients and get everything ready. Having your tools and measurements in place makes the cooking process much smoother.
Cooking time: roughly 25 minutes
Once your ingredients are prepped, you’ll spend about 25 minutes heating everything to that perfect silky texture. Keep a close eye on the caramel as it cooks to avoid any burning.
Cooling time: around 4 hours for best results
Patience is key! Allow your caramels to cool for about 4 hours at room temperature. This step ensures they set properly and achieve that classic chewy consistency. Enjoy the anticipation before indulging in your sweet creation!
Nutritional Facts for Homemade Caramels
When you indulge in homemade caramels, it’s not just about flavor; it’s also essential to understand their nutritional profile, especially if you’re sharing them with friends or gifting a batch.
Calories
Each piece of homemade caramel boasts around 50-70 calories, depending on ingredient variations. Knowing this can help you enjoy your treat mindfully!
Sugar Content
Sugar is what makes homemade caramels irresistibly sweet. Typically, each piece contains around 8-10 grams of sugar. While satisfying your sweet tooth, it’s wise to enjoy in moderation.
Fat Content
Made rich and creamy with unsalted butter, each caramel carries about 2-3 grams of fat. This buttery goodness not only enhances flavor but also contributes to that smooth, melt-in-your-mouth texture we all love.
FAQs about Homemade Caramels
Crafting homemade caramels can be a delightful adventure, and with a few common questions answered, you’ll be ready to whip up a batch with confidence!
Why are my caramels too hard or too soft?
A common hurdle is achieving the right consistency. If your caramels are too hard, it might be due to cooking them at too high a temperature, causing them to reach a hard candy stage. Conversely, if they’re too soft, they haven’t cooked enough. A reliable thermometer is invaluable; aim for a soft ball stage (around 235-240°F). If you’re experimenting and desire chewy yet firm caramels, adjusting the temperature slightly could yield perfect results!
Can I make caramels without corn syrup?
Absolutely! While corn syrup helps prevent sugar crystallization, you can replace it with alternatives like honey or maple syrup. Keep in mind that using these substitutes may affect the flavor profile of your homemade caramels. Also, using granulated sugar and ensuring that you stir gently can help maintain smoothness in the texture.
How should I store my homemade caramels?
To keep your homemade caramels fresh, store them in an airtight container at room temperature. If you happen to live in a humid environment, consider wrapping each caramel in wax paper to prevent them from sticking together. On the other hand, refrigeration isn’t necessary and may change the texture, making them harder than intended. Enjoy your homemade delights!
Conclusion on Homemade Caramels
Making homemade caramels is a delightful venture into sweet-making that yields a treat far superior to store-bought varieties. The rich flavor and irresistible texture allow you to create personalized gifts or indulge in a luxurious snack at home.
I encourage you to embrace this easy yet rewarding recipe; not only will you impress your loved ones with your confections, but you’ll also enjoy the process. Imagine the joy of sharing these delicious bites with family and friends—each creamy piece is a little moment of happiness waiting to be unwrapped. So, gather your ingredients, roll up your sleeves, and let’s get cooking!
Print
Homemade Caramels
- Total Time: 4 hours 45 minutes
- Yield: 24 caramels 1x
- Diet: Vegetarian
Description
Delicious homemade caramels that are perfect for sharing or enjoying yourself!
Ingredients
Scale
- 2 cups granulated sugar
- 1 cup packed light or dark brown sugar
- 1 cup light corn syrup
- 1 cup unsalted butter (cubed)
- 1 teaspoon salt
- 2 cups heavy cream (room temperature)
- 2 teaspoons vanilla extract
Instructions
- Lightly butter a 9×13-inch pan and line it with parchment paper, letting the excess come up the sides of the pan. Lightly butter the paper.
- In a large heavy-bottom saucepan (make sure it’s a 4 to 5-quart capacity), combine the sugars, corn syrup, butter, and salt. Place over medium heat and stir constantly until the butter and sugars have melted and the mixture starts to bubble but it isn’t boiling hard, about 5 minutes.
- While whisking, slowly pour in the cream (this should take about 1 minute). Attach a candy thermometer and bring to a boil, stirring constantly until the mixture reaches 245°F to 248°F, 20 to 25 minutes.
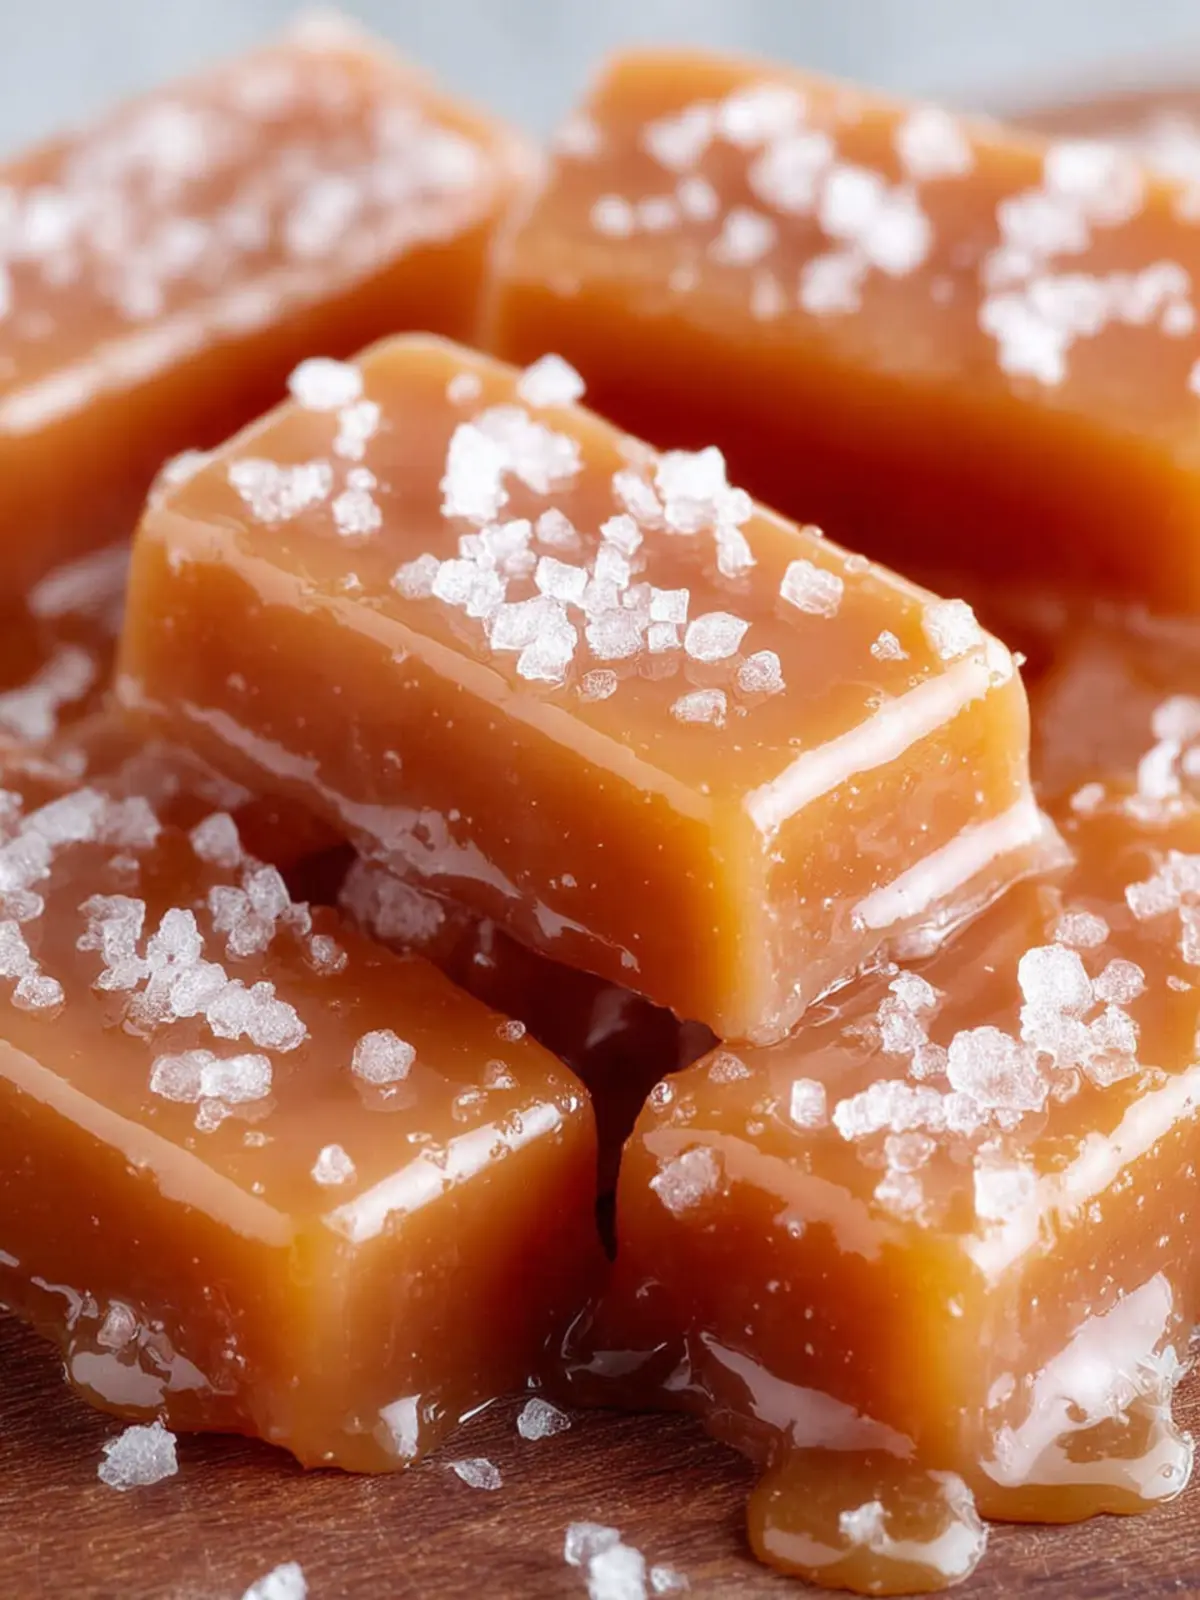
- Immediately remove from the heat and carefully stir in the vanilla. Pour into the prepared pan. Let the caramels cool completely, about 4 hours. If desired, sprinkle flaked sea salt on top of the caramels after cooling for about 30 minutes.
- Remove the cooled slab from the pan and discard the parchment paper. Cut into squares and wrap in wax paper. Caramels will keep at room temperature for up to 1 month or refrigerated for several weeks.
Notes
- To speed up the cooling, you can refrigerate the caramels until hardened. Just remove the slab about 30 minutes before slicing as the cold caramel can shatter or break when cut.
- Prep Time: 15 minutes
- Cook Time: 30 minutes
- Category: Candy
- Method: Stovetop
- Cuisine: American
Nutrition
- Serving Size: 1 caramel
- Calories: 100
- Sugar: 20g
- Sodium: 100mg
- Fat: 6g
- Saturated Fat: 4g
- Unsaturated Fat: 2g
- Trans Fat: 0g
- Carbohydrates: 12g
- Fiber: 0g
- Protein: 1g
- Cholesterol: 15mg